I really wanted to see how well the tea bag paper faired when stitched by hand. It seems pretty sturdy so I thought I would create a bit of a canvas to work in to. Why not kill two birds with one stone and play with the gelli plate too? I actually only use the gelli plate for one part of this project but I did more for other projects that will follow.
Step one
Paint onto the gelli plate with a brush and acrylic paint creating a textured splodgy base (that's a technical term). Lay the paper on the surface and pick up the pattern.
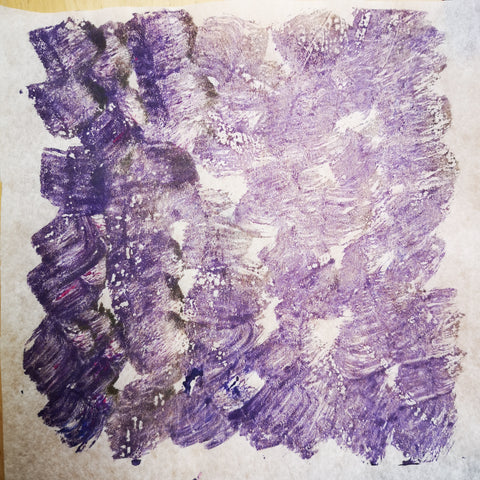
The result was basic but pleasing. Clear brush marks were picked up by the paper and it dried really quickly too. I didn't want anything too elaborate as I was going to add to it with further layers.
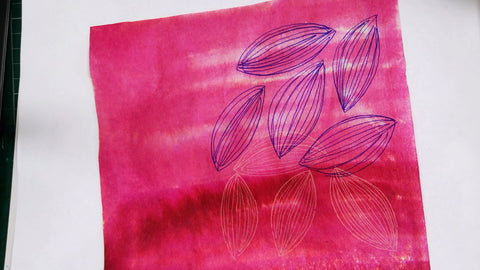
Step 2
Dye some tea bag paper with ink.
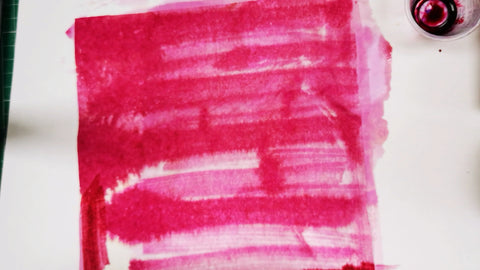
Just a basic calligraphy ink and a little bit of water. The paper is really absorbent and the ink spread quickly. Once again it dried fast.
Step 3
Create leaf motifs on the dyed paper with a white carbon paper and then a royal blue. These transferred onto the surface really well.
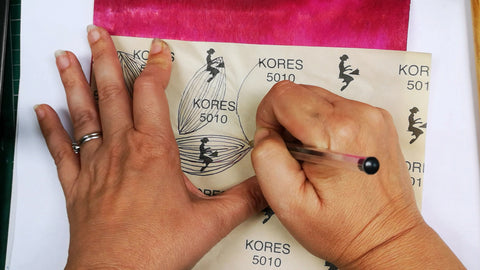
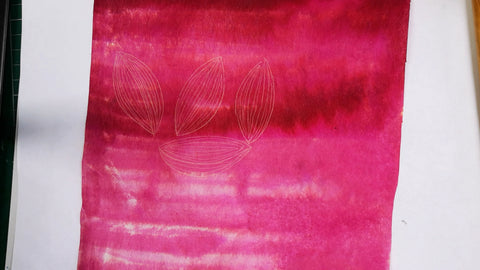
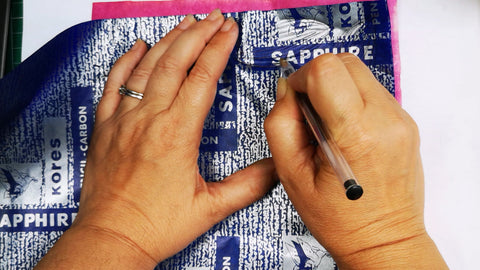
Following this I used ink over the top of the transfer as it is slightly waxy and will resist the ink.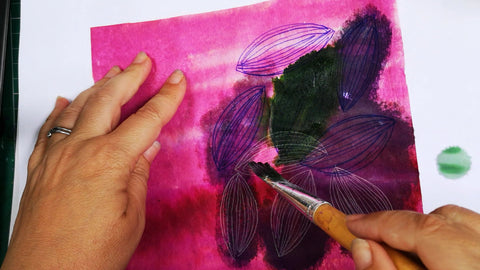
Step 4
Once dry, cut out the leaf shapes and glue them into position on the base layer, followed by a layer of leaves cut from a textured wallpaper design. (These had been used previously in another gelli plate experiment and so were a bit painty, which I liked.)

Unfortunately I forgot to take a photo at the wallpaper leaves stage but I'm sure you'll get the idea from the next stage!
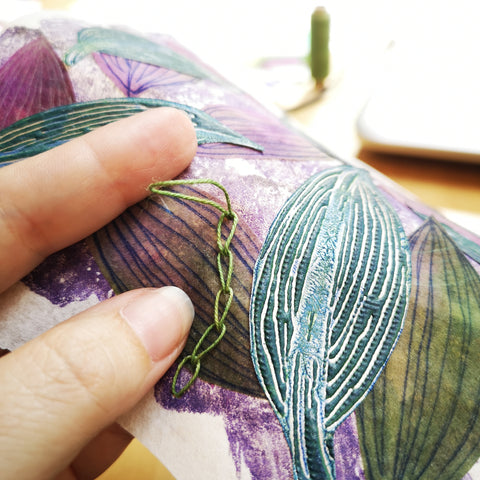
Step 5
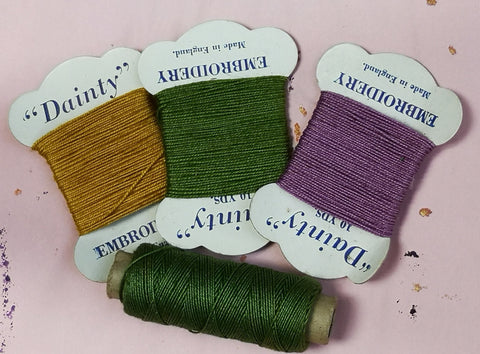
Choose colours for hand embroidery. I don't embroider very often but I have a little stash of lovely vintage embroidery threads that have made their way down the family - nothing is thrown away! I went for green and purple and chose to sew a chain stitch across the piece.
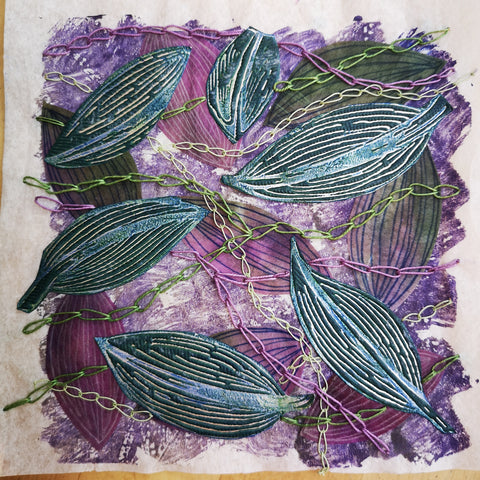
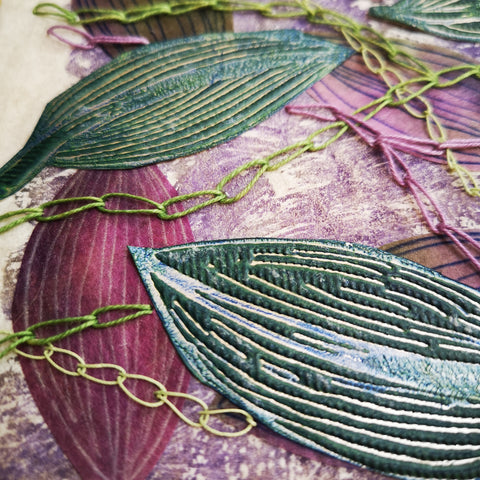
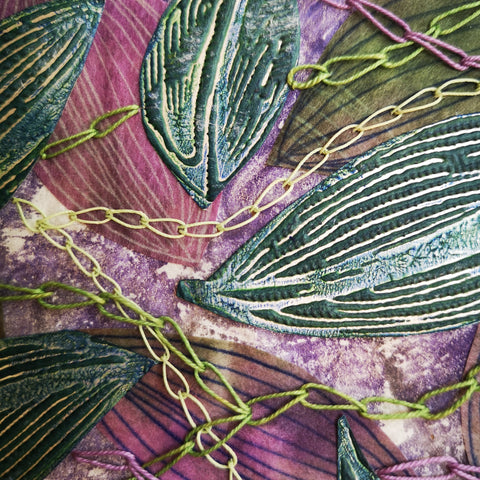
The end result:

Final verdict and lessons learnt
I am really pleased with the final result and found the tea bag paper really easy to use. The gelli prints transfer clearly to the paper and ink is absorbed well. For designs needing more careful lines and detail acrylics would be best to avoid spreading, or prime the surface first with some PVA maybe. Things glue easily to the surface. The sewing was easy but I was really careful to avoid tight stitches as I felt there could be some tearing. That said, I managed a piece with a lot of sewing and no tearing occurred. Maybe different stitches will have different success. I think the next piece will incorporate some french knots....
If you want to have a go at something similar or have ideas of how tea bag paper could be used in your own projects then you can find it here in my online shop.