Following on from the last post I wanted to incorporate some french knots into my next tea bag paper project to see how well it holds up. Again I create a mini canvas using the gelli plate but work in to it a lot with acrylic paint before stitching.
Step 1
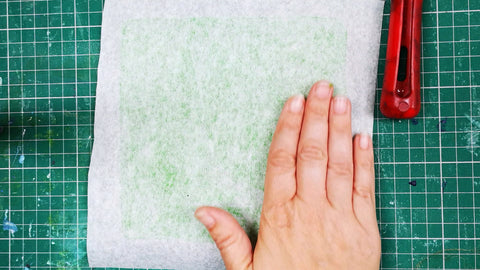
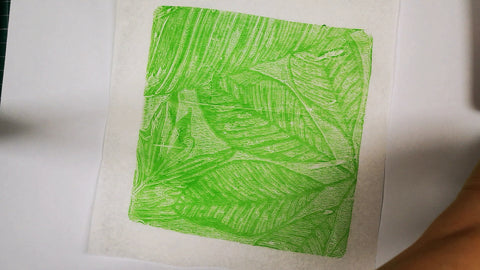
To create a basic canvas for the base of the design a textured wallpaper sample is used. The gelli plate is rolled with green acrylic paint and the design pressed into the surface. A sheet of tea bag paper is gently smoothed over the plate and peeled back.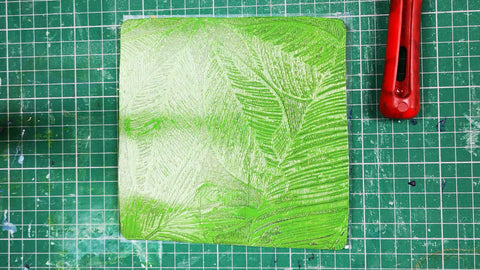
Step 2
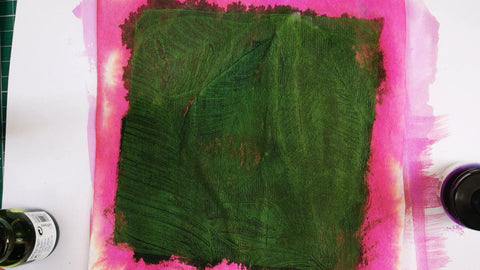
Once the paint is dry paint the print can be painted with contrasting ink.

I actually decided I wasn't keen on the pink and changed to a darker green!
Step 2
Paint the negative space in a darker colour to lift the leaf shapes. This was acrylic paint to avoid the moisture spreading into the paper.
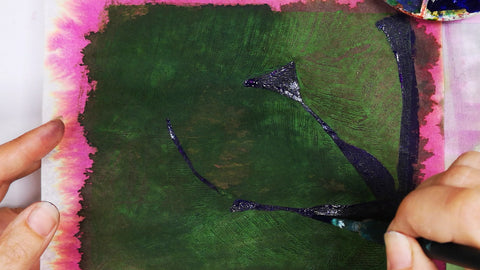
Step 3
Details in the gelli print are picked out with gold acrylic ink.
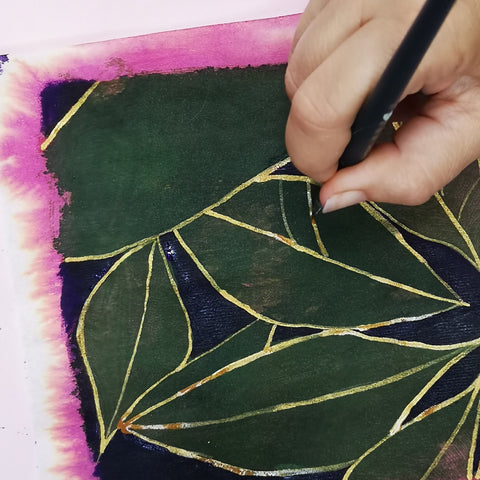
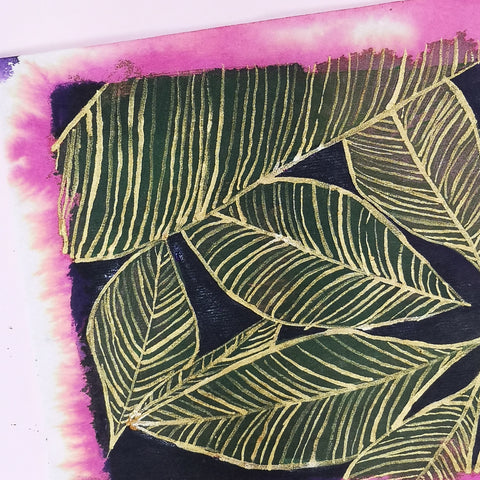
Step 4
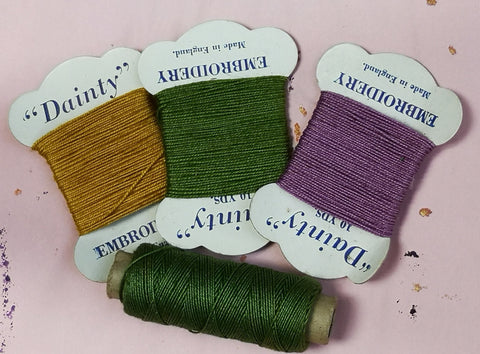
Choose a good contrasting embroidery thread colour. I chose the golden yellow. Sew french knots in the negative space areas of the design.
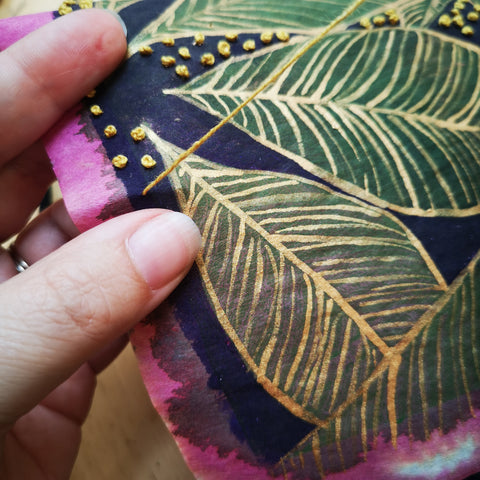
The final design
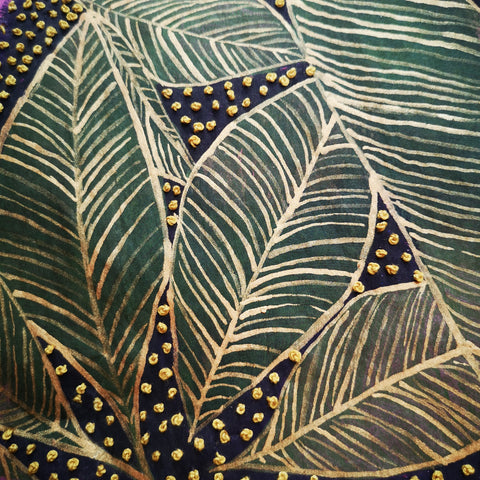
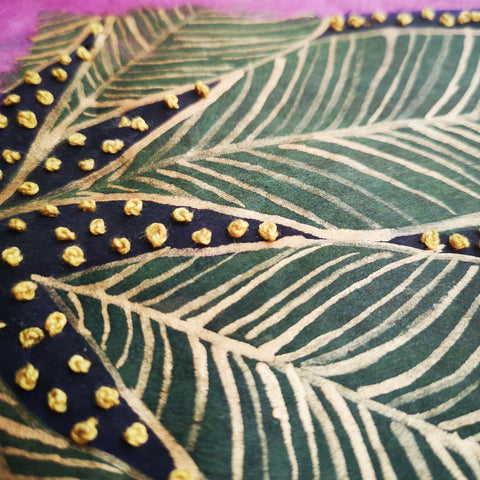
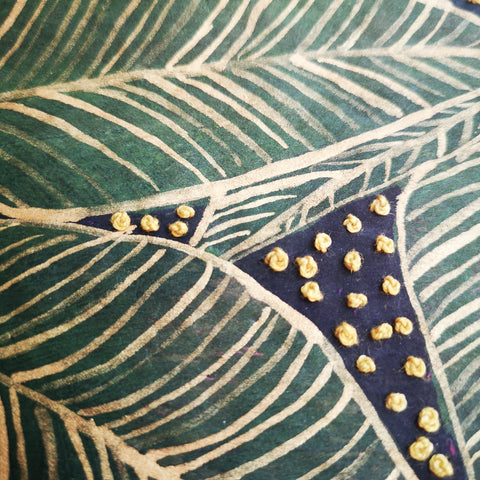
Final verdict and lessons learnt
It's a pleasing end result and the building up of the base layers was simple and straightforward. The sewing was certainly fiddlier than the chain stitch used in the previous project as pulling on the knots to tighten them would sometimes break through the paper. All could be remedied with carefully placed anchoring stitches but not as enjoyable as the last piece for this reason. I would advise simpler stitches to add sewn details or maybe reinforce those areas to be stitched with tighter sewing with masking tape or similar.
If you want to have a go at something similar or have ideas of how tea bag paper could be used in your own projects then you can find it here in my online shop.
